Building Project with Maven
Overview
This section explains how to generate a WAR (Web Application Archive) for a WaveMaker project using Maven. The generated WAR file can be deployed on a local machine or on a web server.
Introduction
A Maven-based build allows you to generate a WAR file outside the WaveMaker Studio. This approach is commonly used in automated build pipelines or environments where builds are triggered from the command line.
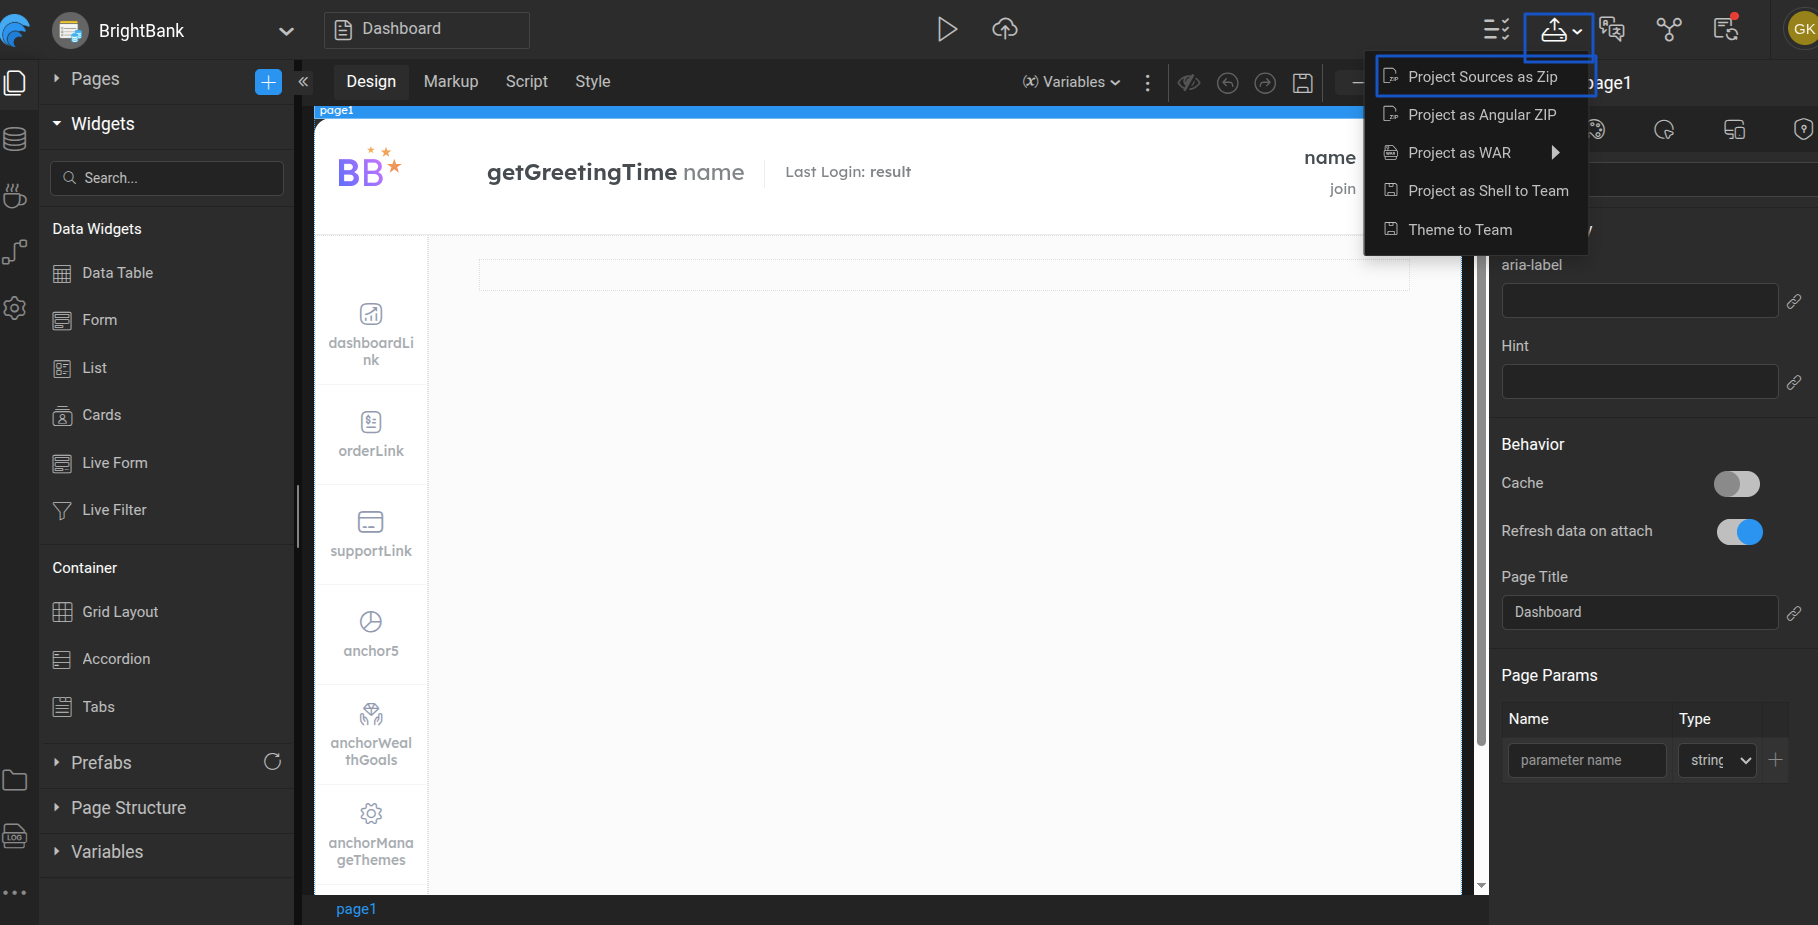
Download Project ZIP from Studio
To build the project using Maven, first download the project source from WaveMaker Studio.
-
Export the project as a ZIP file from the Studio.
-
Extract the downloaded ZIP file.
-
Note the extracted project location path.
-
Open a command line terminal and navigate to the project location:
cd <location>
Choose Profile and Build War file
A WaveMaker project includes two default profiles: development and deployment. When building the project, prefix the profile name with -P. If no profile is specified, the development profile is used by default.To know more about profile configuration, refer [link to release management profile config]
- Use the below command to do a maven build with the profile.
mvn clean install -P<ProfileName>
For example
mvn clean install -Pdeployment
- This will generate a project war file in the target directory. This file has both frontend artifacts (HTML, CSS, JS, images, etc), and backend artifacts (Java Classes).
- This can be deployed into any webserver like Tomcat. Refer Tomcat Deployment.
To learn how to generate a WAR file using Maven in WaveMaker, watch the video below:
Generate a WAR using MAVEN
Watch for deeper understanding on how to generate WAR file using MAVENin WaveMaker