Passivate Containers
Passivate containers in StudioWorkspace/AppDeployment Instances from the launchpad
-
In order to upgrade WME from 10.x to below 11.2.x version, it is recommended to passivate the containers in StudioWorkspaceInstance and AppDeploymentInstance.., It is not needed when upgrading above 11.2.x versions.
-
Following are the steps to passivate the containers before running patch.
-
After logging into launchpad in your WME setup go to the Developer Workspace Tab, and then go to the container as shown in the below image
-
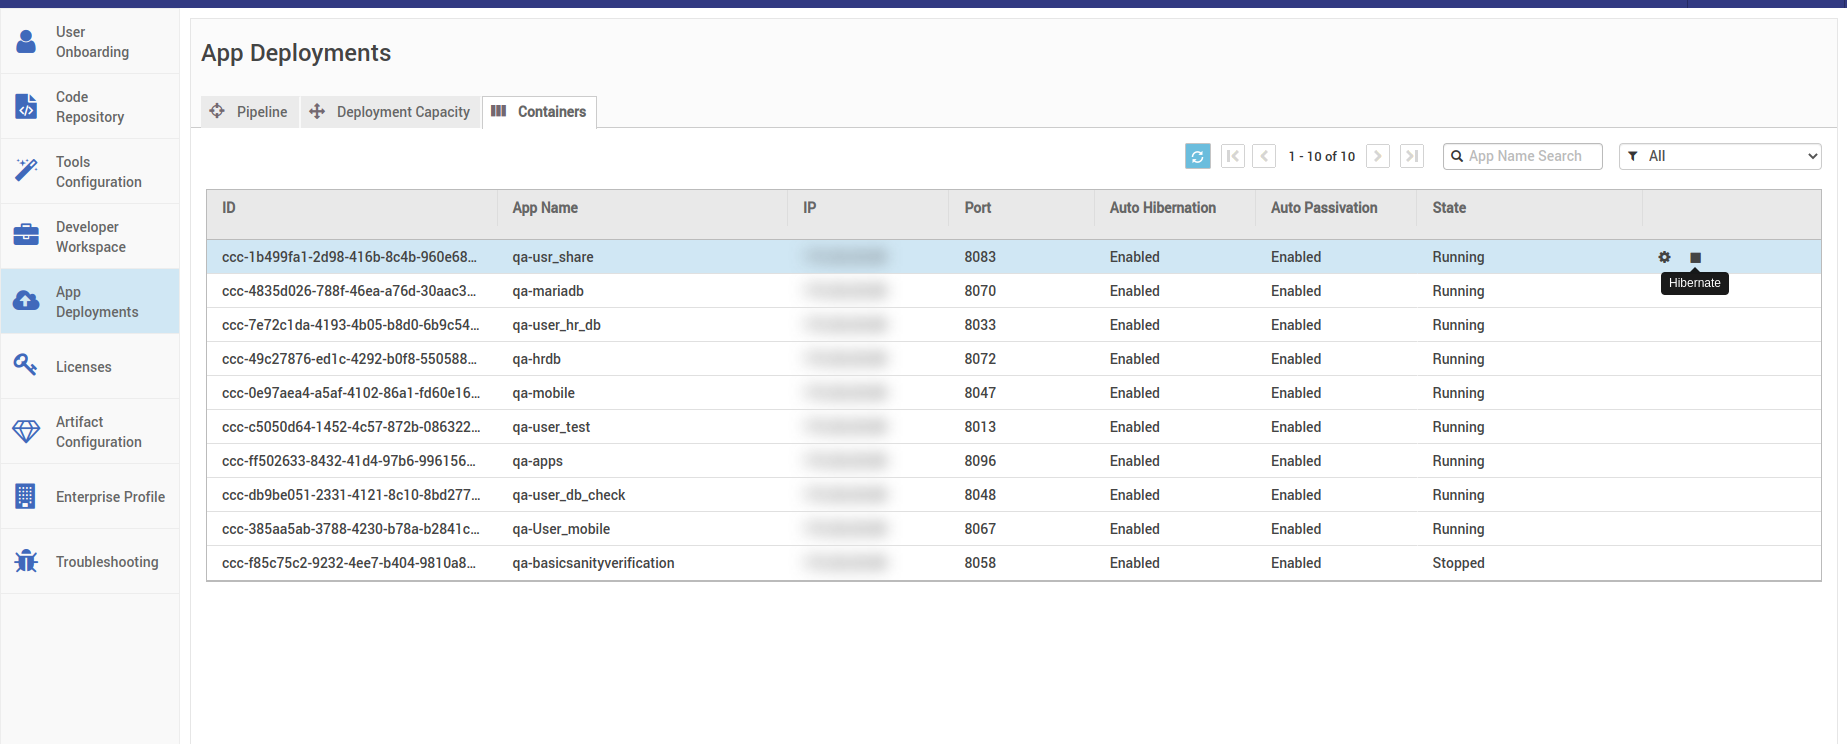
Select the containers that are running, hibernate those containers one after the other by hitting the stop button as shown in the image below.
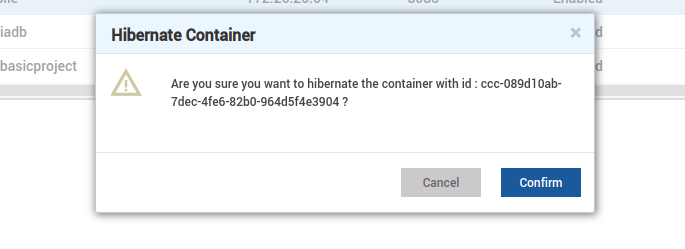
- Select confirm to hibernate the container.

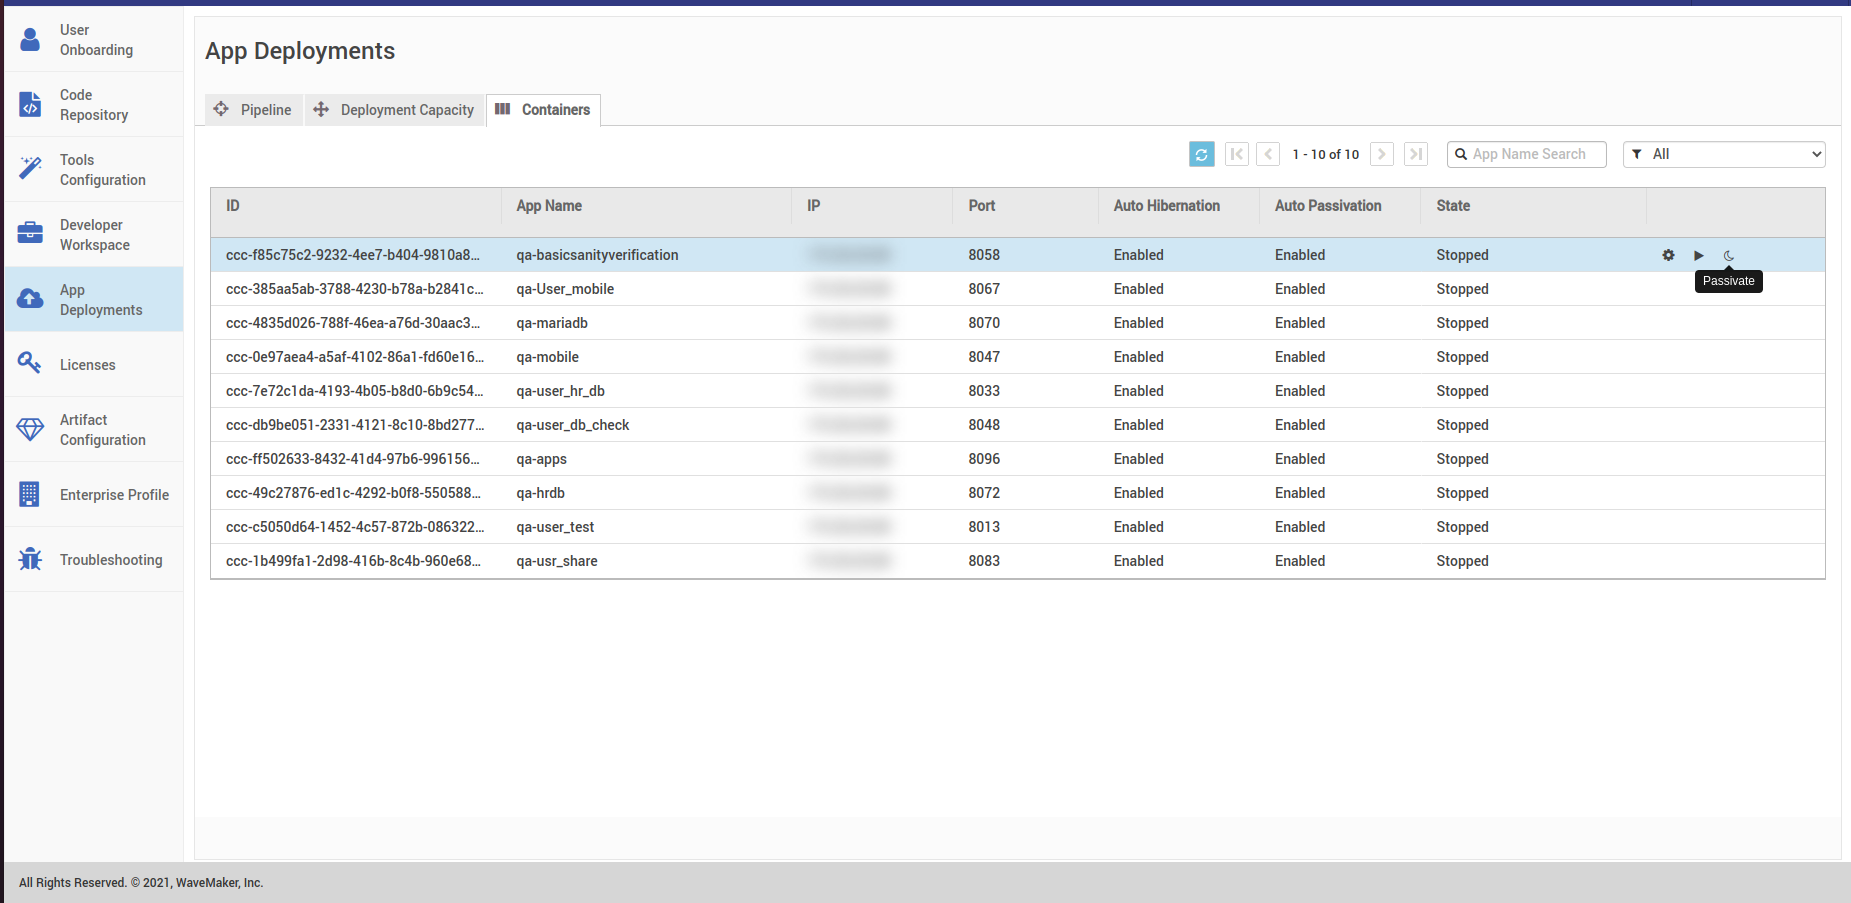
- Wait till the state is changed to stop as shown in the image below. After the container state changes to stop, you can passivate them by hitting the passivate button.

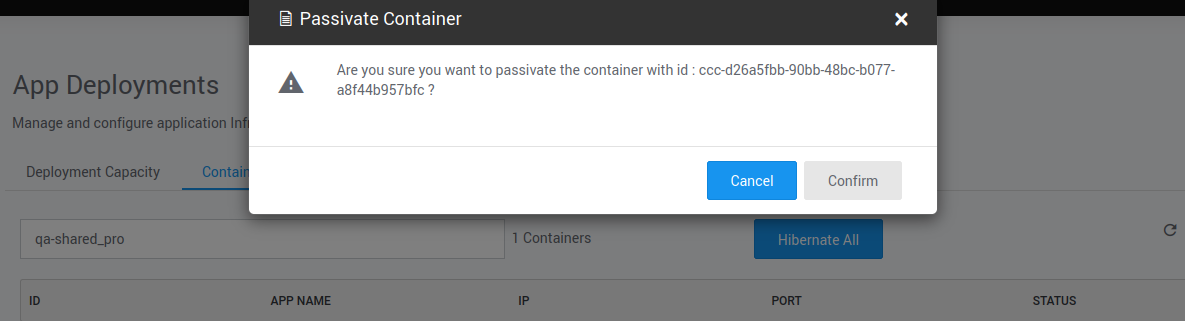
- Select confirm to passivate the container.
-
Alternatively, you can passivate all the hibernated containers in one click. To do this, follow the steps provided below.
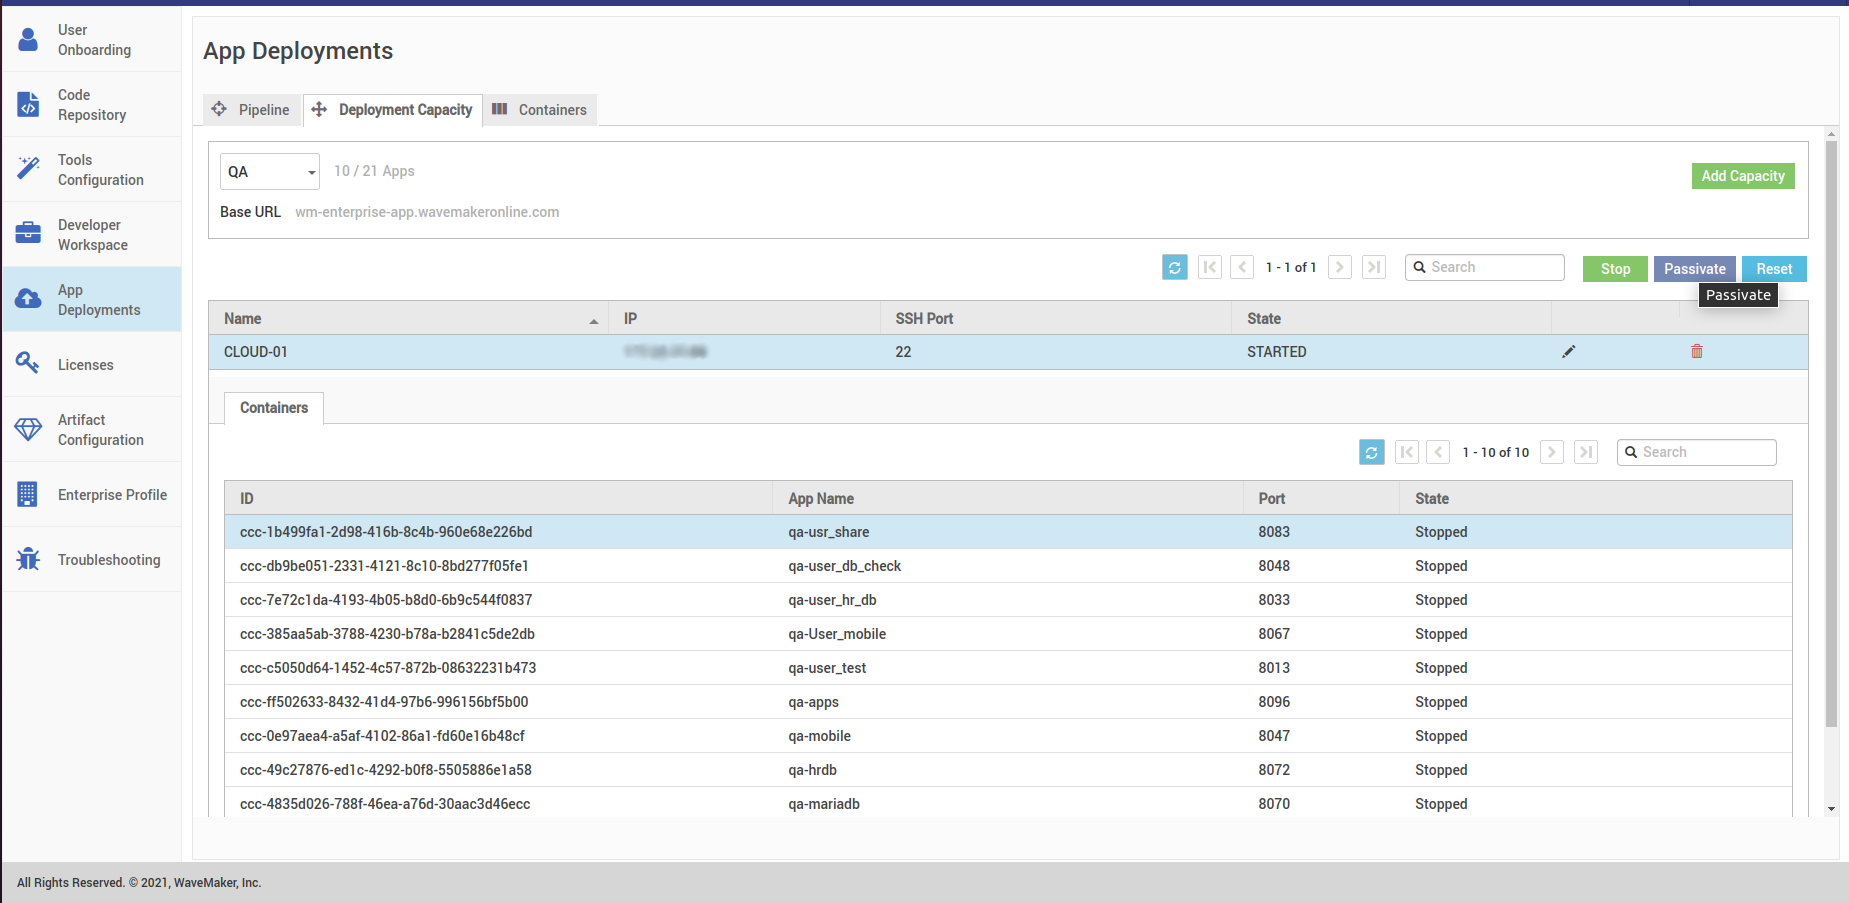
- After hibernate all the containers, go to Developer Capacity and hit the Passivate button shown in the below image. This will passivate all the Hibernated containers in the Instance.

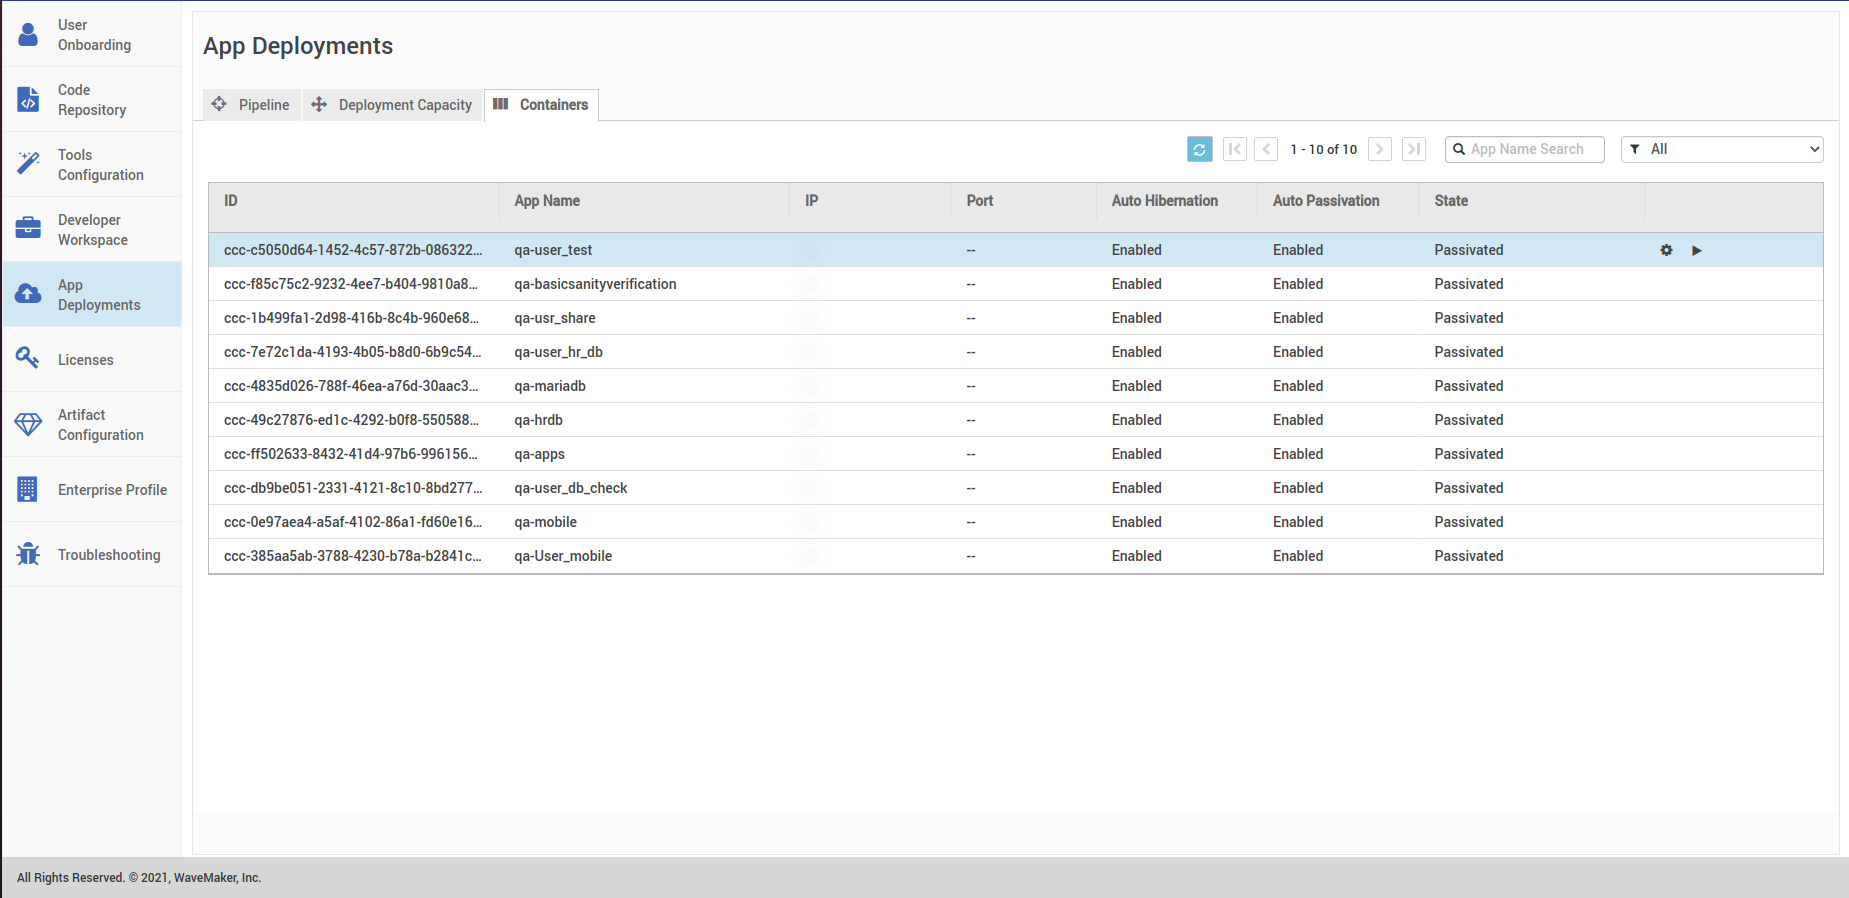
- Check the container status and wait till their state changes to Passivated.
-
-
Do the same for rest of the StudioWorkspace/AppDeployment instances.
-
After passivating all the containers in StudioWorkspace/AppDeployment instances, you can proceed with the patch.